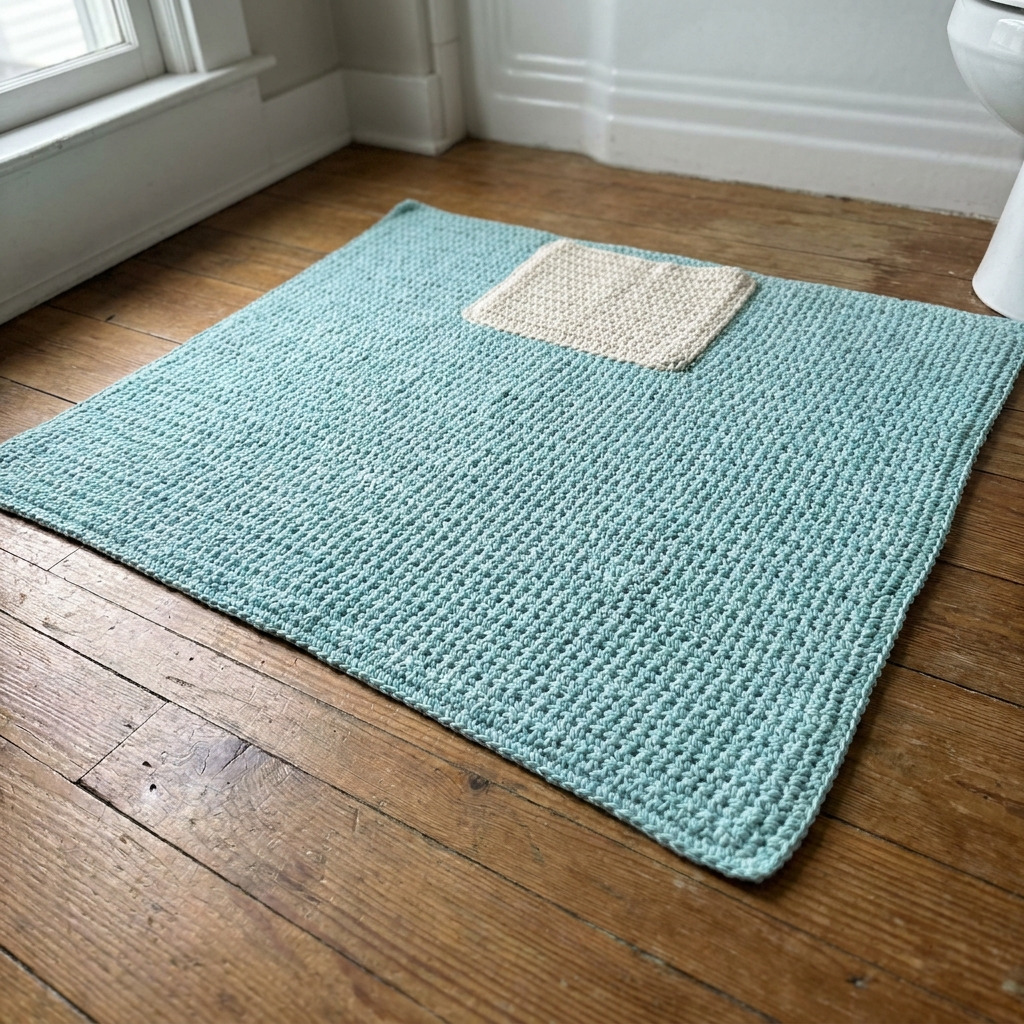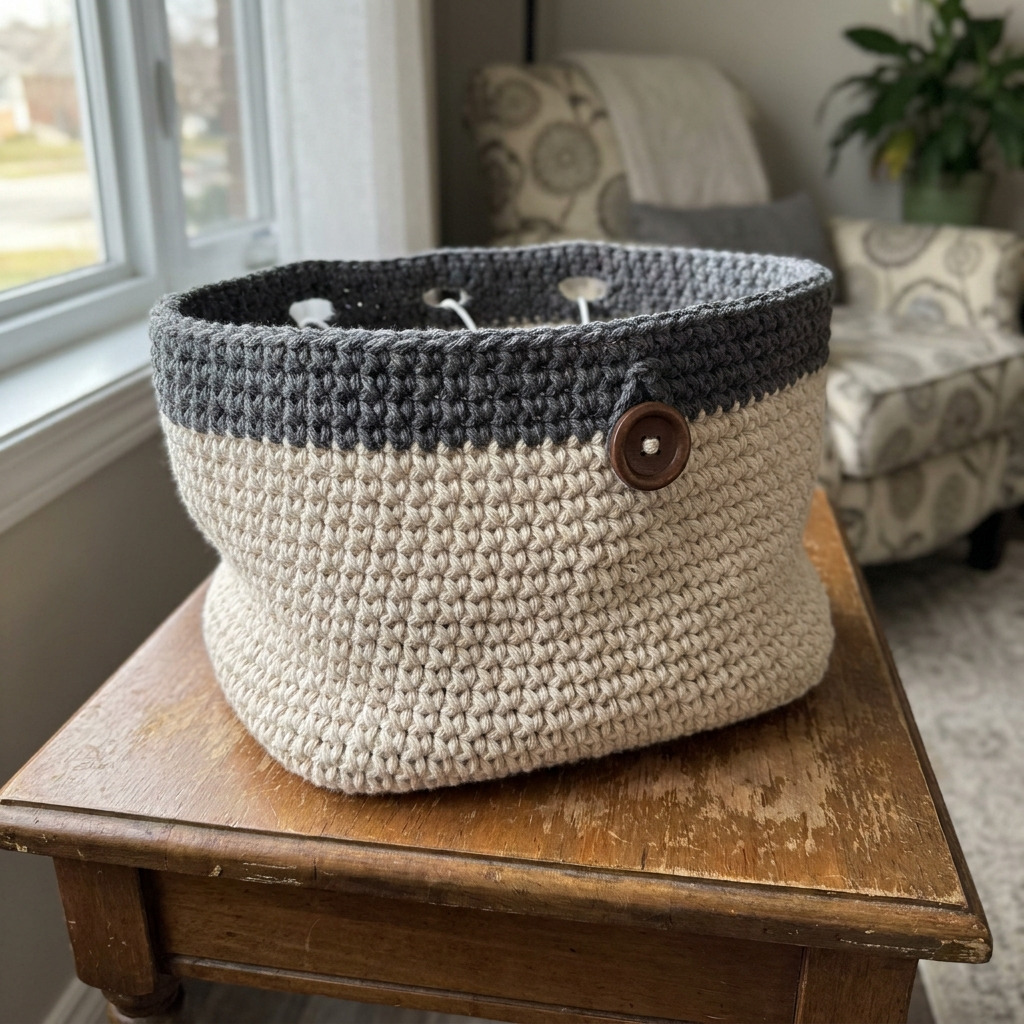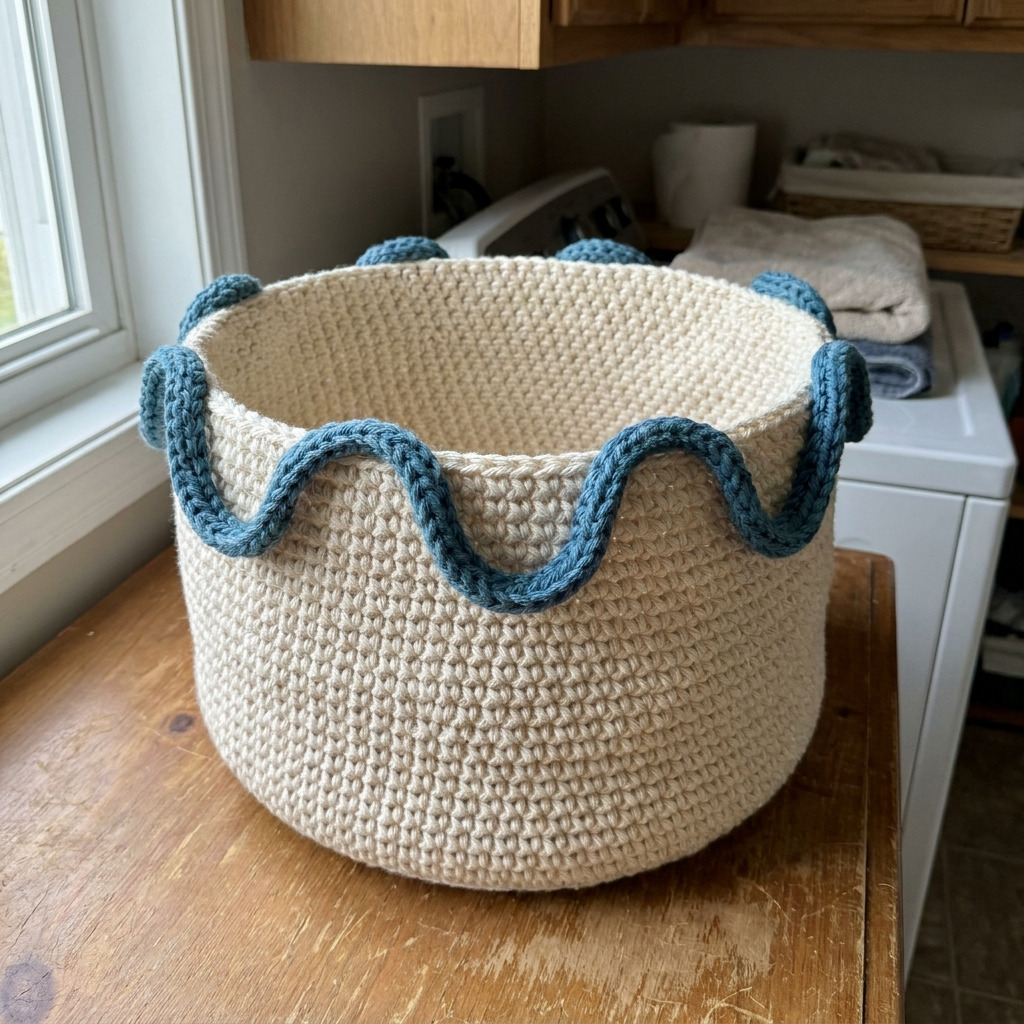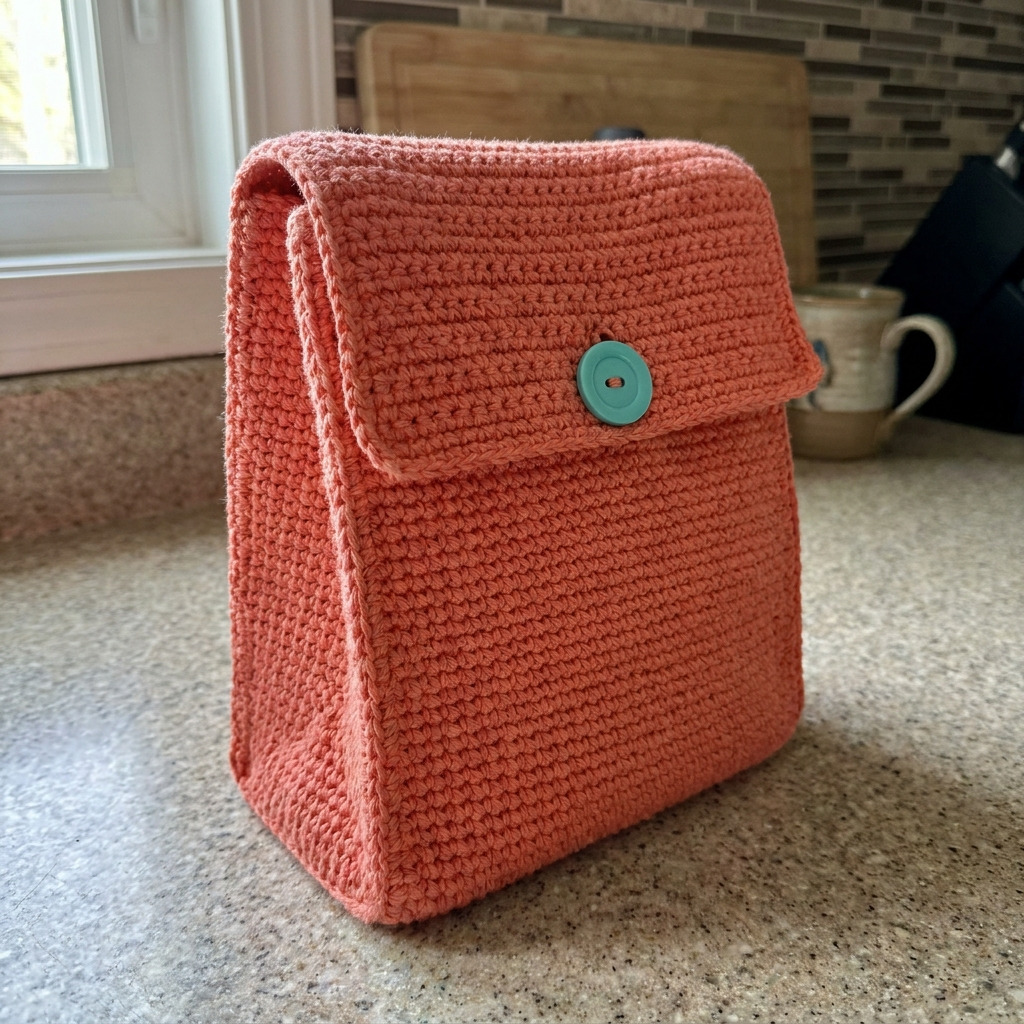
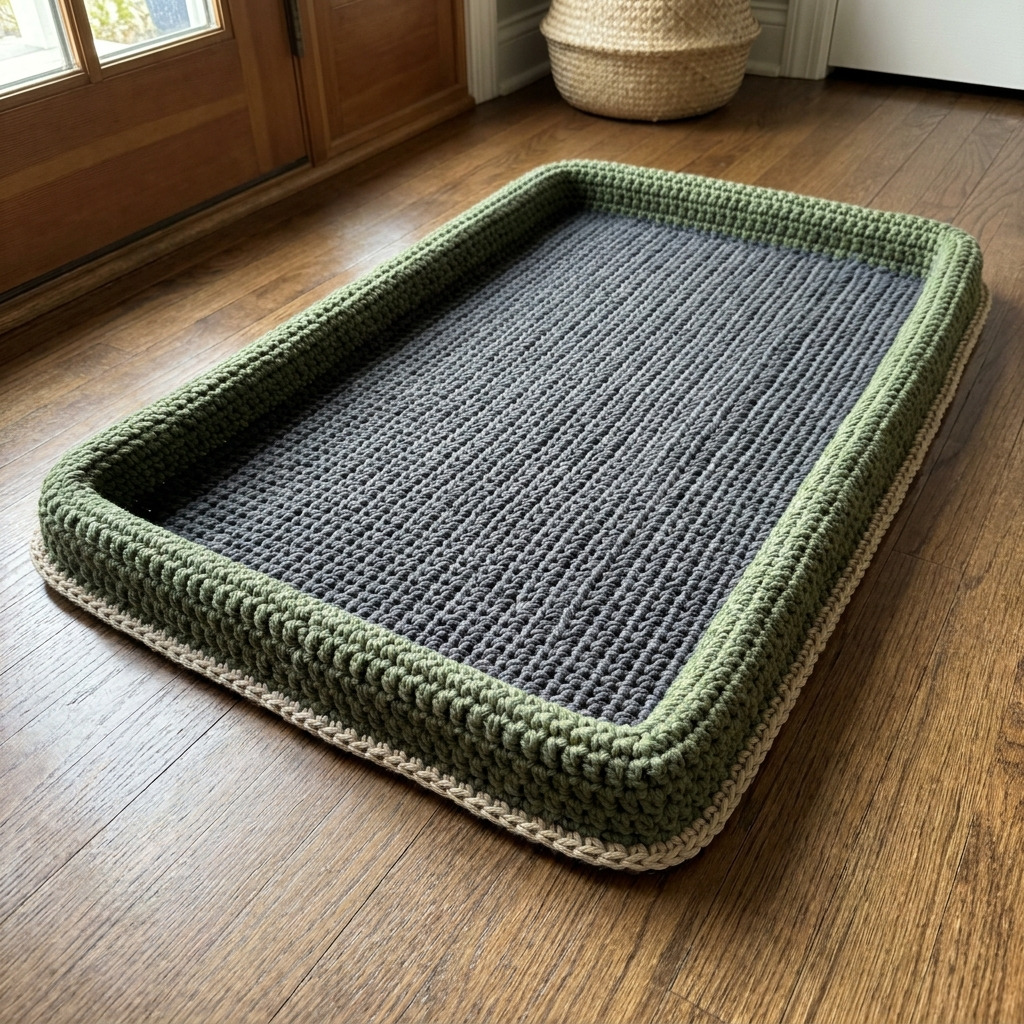
This Crochet Boot Tray Mat With Raised Rim is a practical and stylish piece that will help keep your floors clean by catching mud and moisture from boots. It features a raised rim that helps contain spills, making it a smart addition to any entryway. This project is enjoyable to make for intermediate crocheters who will use basic stitches like double crochet and single crochet.
You’ll gain skills in creating a raised rim as well as working in different colors. This mat not only serves a functional purpose but also adds a touch of personal style to your home.
Why You’ll Love This Boot Tray Mat
- Functional design – the raised rim catches spills and keeps your floors clean.
- Easy to customize – experiment with colors to match your home decor.
- Intermediate challenge – improve your crochet skills with the raised rim technique.
- Quick to make – complete the entire project in about 6 hours!
Skill Level: Intermediate
You should know how to chain, double crochet, and single crochet. The new technique introduced is the raised rim stitch, which adds a unique texture to the mat.
Crochet Abbreviations (US Terms)
- ch – chain
- dc – double crochet
- sl st – slip stitch
- sc – single crochet
- st(s) – stitch(es)
- sp – space
Raised Rim Stitch: This stitch is created by working into the stitches from the previous row in the next row rather than the spaces, providing a raised effect.
Gauge and Finished Size
- Gauge: 14 dc and 8 rows = 10 cm (4 inches).
- Finished Dimensions: 76 × 46 cm (30 × 18 in).
Make sure to check your gauge by working a small swatch in double crochet. Adjust your hook size if necessary to meet the specified gauge.
Step 1: Crochet the Base of the Mat
The base of the mat is formed by working in rows.
- Foundation Chain: With Charcoal Gray, ch 70.
- Row 1: DC in 4th ch from hook (counts as 1st DC), DC in each ch across. (68 DC)
- Row 2: Ch 3 (counts as 1st DC), turn; DC in each DC across. (68 DC)
- Rows 3–12: Repeat Row 2 until the mat measures approximately 38 cm (15 in) long (12 rows total).
Step 2: Create the Raised Rim
The raised rim adds height and functionality. 5. Switch to Moss Green for the rim. 6. Row 13: Ch 1, sc in same st, sc in each of the next 68 DC. (68 sc) 7. Row 14: Ch 3 (counts as 1st DC), turn; in same st, dc in each sc across. (68 DC) 8. Rows 15–20: Repeat Row 14 for additional raised rim height (total of 6 rows in rim).
Step 3: Finish the Edges
Finally, add a border for a polished look. 9. Border Round: Change to Beige; ch 1, sc evenly around the entire edge of the mat, working 3 sc in each corner. Join with sl st to first sc. (approx. 86 sc) 10. Final Round: Ch 1, *sc in each sc around; join with sl st to first sc. Fasten off and weave in ends.
Final Touches
Ensure all ends are weaved in neatly. If desired, block the mat to shape by laying it flat on a clean surface and pinning the edges to the desired measurements to dry.
Beginner Tips for a Neat Boot Tray Mat
- Use stitch markers to mark the beginning of each row.
- Keep count of your stitches to avoid running out of yarn.
- Manage your tension to produce even stitches throughout the project.
Common Mistakes (and How to Fix Them)
- My piece is too small. – Check your gauge and adjust your hook size as needed.
- The stitches are uneven. – Ensure you are maintaining consistent tension while crocheting.
- The raised rim is not forming properly. – Make sure you are working into the correct stitches and following the stitch count accurately.
How to Care for Your Boot Tray Mat
Machine wash cold, tumble dry low, or lay flat to dry. Avoid bleach to maintain the color and integrity of the yarn.
FAQ
How do I resize the pattern?
To resize, simply adjust the foundation chain length and ensure you maintain the proper stitch counts throughout the rows.
Can I use different yarn for this project?
Yes! You can use any worsted weight yarn, but be mindful of the fiber content to maintain the mat’s functionality.
How long will this project take to complete?
The entire project will take about 6 hours, including time for assembly and finishing touches.
Looking for more? Check out our complete collection of free crochet patterns.
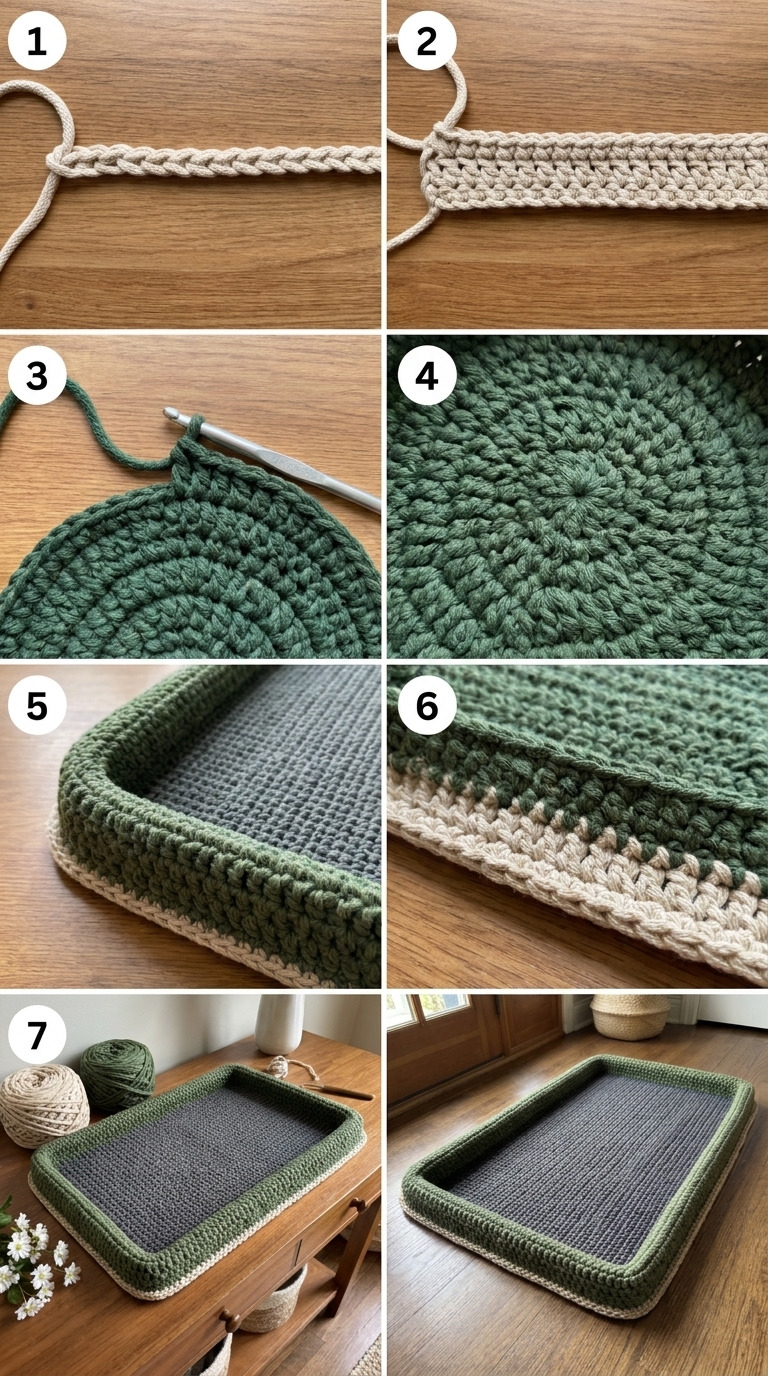
Image shown for inspiration — your finished result may vary slightly.