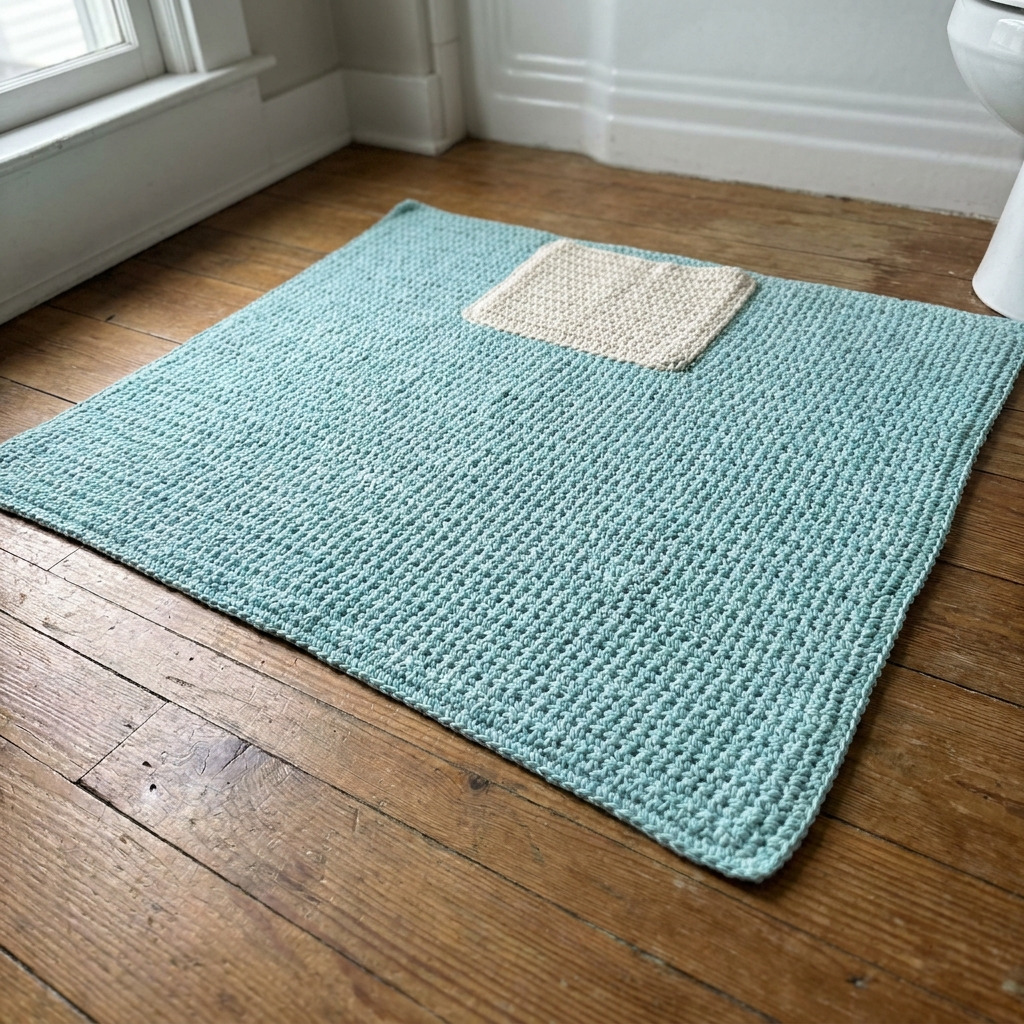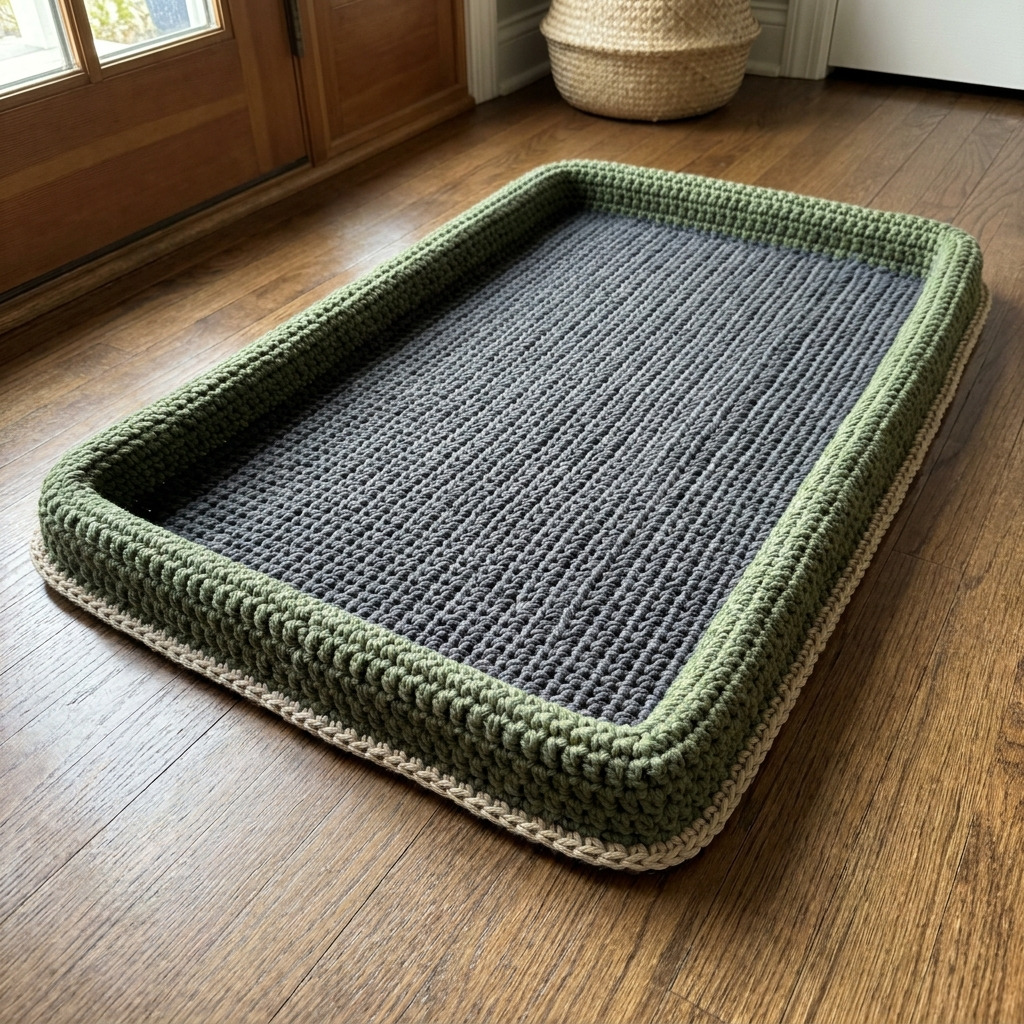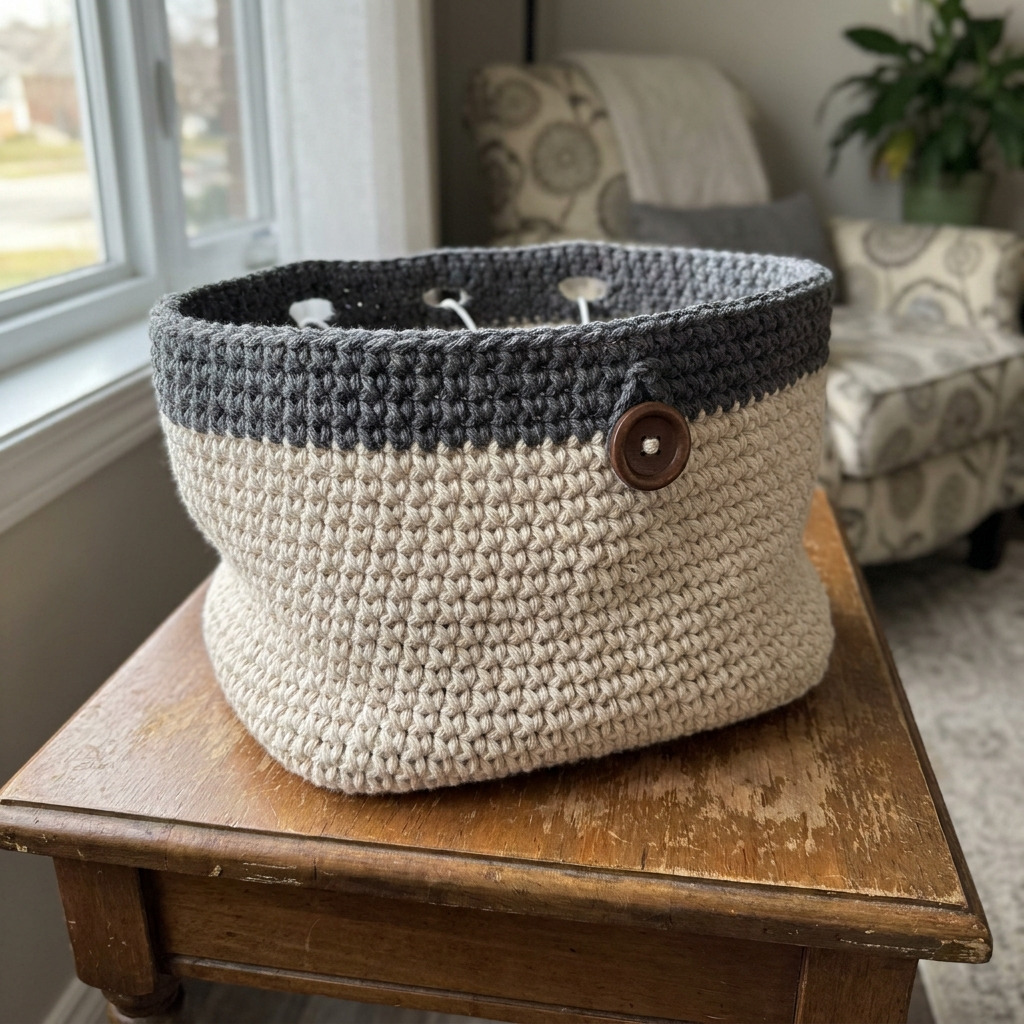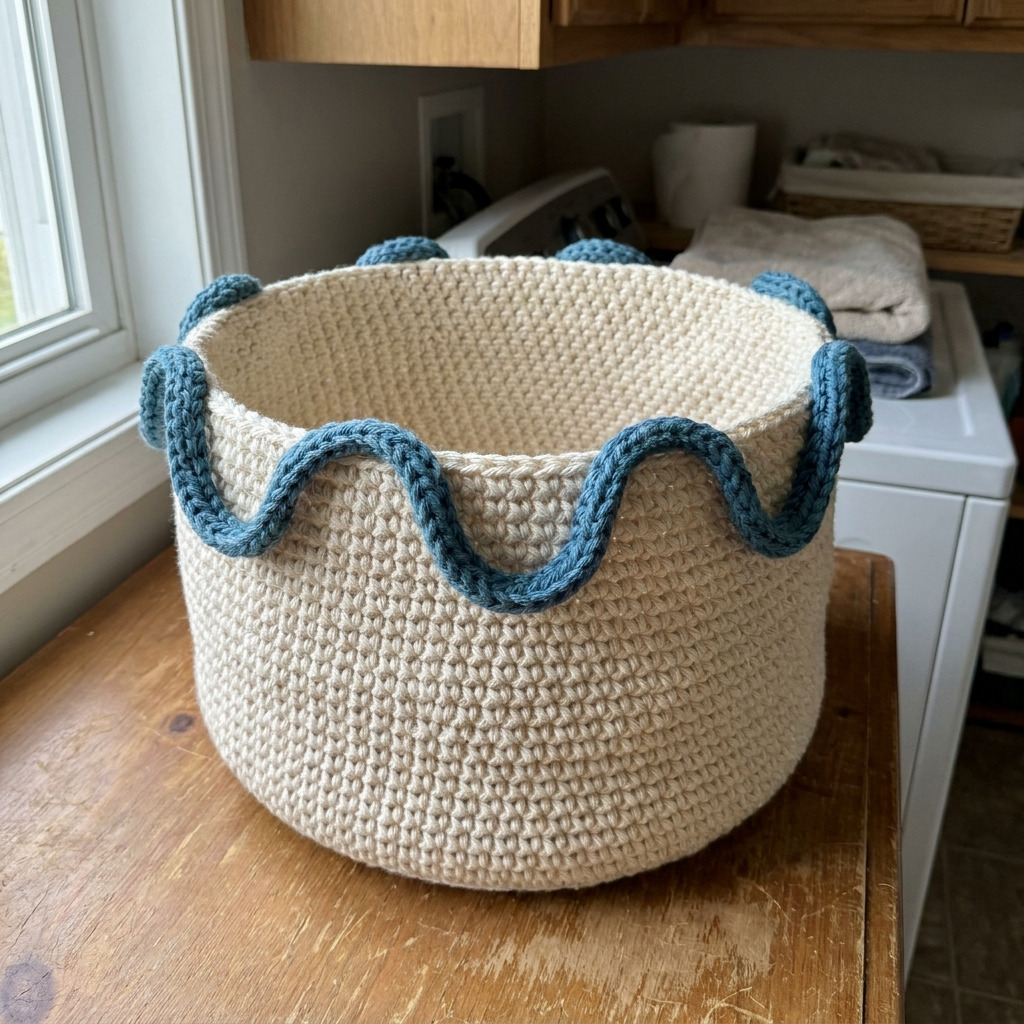
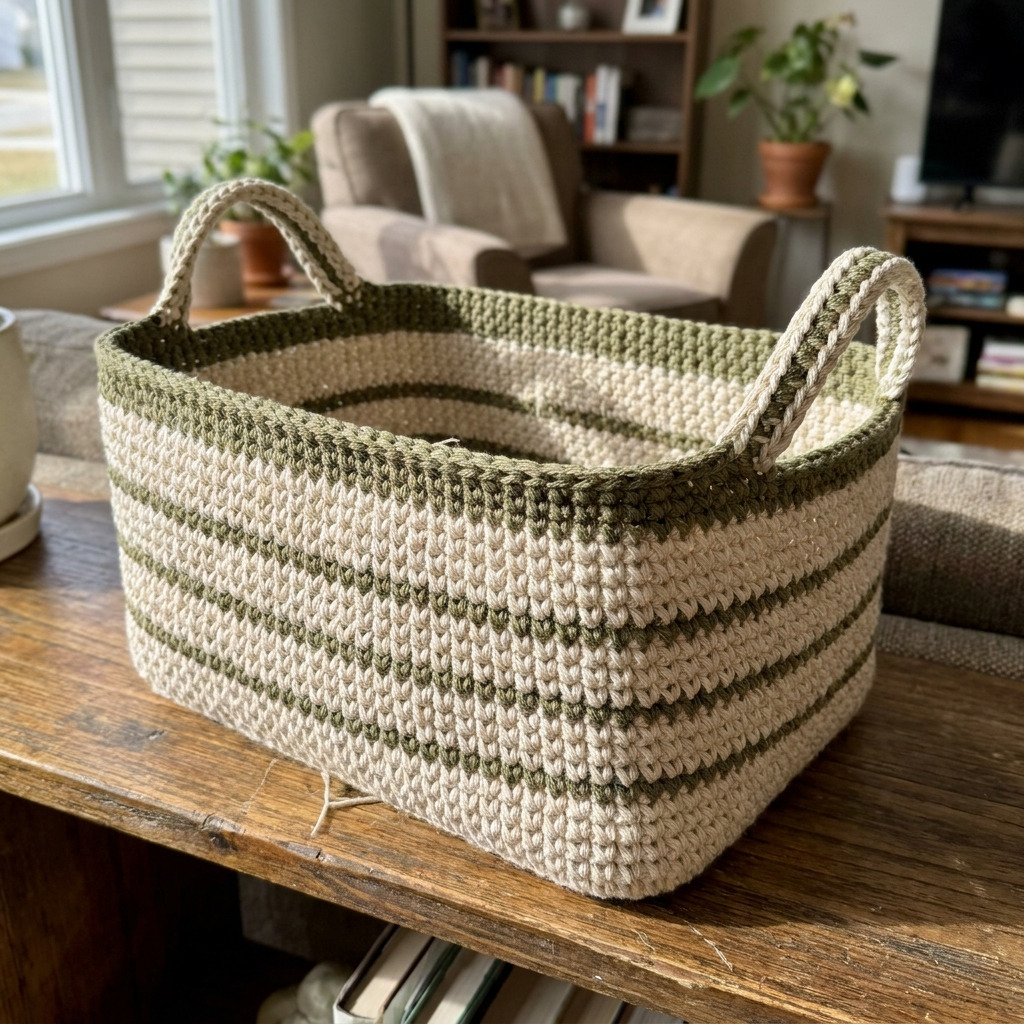
This rectangular shelf basket features sturdy handles for easy transportation, making it a practical and stylish storage solution for any room. Perfect for organizing toys, books, or craft supplies, this basket adds a handmade touch to your home decor.
It’s an enjoyable project that combines basic stitches to create a functional and attractive item. You will gain experience in working with increases and decreases while crocheting with bulky yarn, making it a quick and satisfying make.
Why You’ll Love This Rectangular Shelf Basket
- Practical and stylish – great for organizing items around the home.
- Quick to crochet – you can finish this in just a few hours.
- Sturdy structure – the stiff interfacing gives your basket added support.
- Customizable – try different colors or sizes to make it uniquely yours.
Is This Pattern Good for Beginners?
Yes! This pattern is suitable for beginners because it uses basic stitches like single crochet and simple increases and decreases. With a little patience, you’ll master these techniques while creating a useful item for your home.
Crochet Abbreviations (US Terms)
- ch – chain
- sc – single crochet
- st(s) – stitch(es)
- rnd – round
- sl st – slip stitch
- inc – increase (2 sc in the same stitch)
- dec – decrease (sc two stitches together)
Size and Gauge
- Finished Size: Approximately 30 × 20 × 20 cm (12 × 8 × 8 in)
- Gauge: 8 stitches and 6 rows in single crochet = 10 cm (4 in)
To check your gauge, measure with a tape measure while working in the single crochet stitch. If your gauge does not match, adjust your hook size accordingly.
Step-by-Step Instructions
Base of the Basket
The base is worked in rows and forms the foundation of your basket.
- Ch 40.
- Row 1: Sc in 2nd ch from hook and in each ch across (39 sc).
- Row 2: Ch 1, turn; sc in each sc across (39 sc).
- Rows 3–10: Repeat Row 2 until you have completed 10 rows, maintaining the stitch count (39 sc).
Sides of the Basket
Next, we will start building the sides of the basket by increasing the stitch count gradually. 5. Row 11: Ch 1, turn; sc in next 39 sc, inc in next stitch (add an increase to each end of the row). (41 sc) 6. Row 12: Ch 1, turn; sc in each sc across (41 sc). 7. Row 13: Ch 1, turn; sc in next 40 sc, inc in next stitch (43 sc). 8. Row 14: Ch 1, turn; sc in each sc across (43 sc). 9. Row 15: Ch 1, turn; sc in next 42 sc, inc in next stitch (45 sc). 10. Row 16: Ch 1, turn; sc in each sc across (45 sc). 11. Row 17: Ch 1, turn; sc in next 43 sc, inc in next stitch (47 sc). 12. Rows 18–24: Repeat Row 16 for 7 more rows until the total height is approximately 20 cm (8 in).
Finish Top Edge
These final rows will help finish the top edge of your basket. 13. Row 25: Ch 1, turn; sc in each sc across (47 sc). 14. Row 26: Ch 1, turn; sc in next 46 sc, dec over last 2 sc (46 sc). 15. Row 27: Ch 1, turn; sc in next 45 sc, dec over last 2 sc (45 sc). 16. Row 28: Ch 1, turn; sc in next 44 sc, dec over last 2 sc (44 sc). 17. Row 29: Ch 1, turn; sc in next 43 sc, dec over last 2 sc (43 sc). 18. Row 30: Ch 1, turn; sc in each sc across (43 sc).
Handles
Now we’ll create the handles for your basket. 19. Row 31: Ch 1, turn; sc in first 15 sc, ch 10 (handle), skip the next 13 sc, sc in the remaining 15 sc (15 sc, ch 10, 15 sc). 20. Row 32: Ch 1, turn; sc in each sc across, sc in each ch (38 sc) - you are now at the other side of the handle. 21. Row 33: Repeat Row 31 (15 sc, ch 10, skip 13 sc, 15 sc). 22. Row 34: Repeat Row 32 (38 sc). 23. Rows 35–37: Repeat Row 30 (43 sc).
Final Steps
Complete your basket by finishing off and securing the ends. 24. Finish off and weave in all ends using a tapestry needle. 25. Place the stiff interfacing inside the basket before use for added support.
Beginner Tips
- Use stitch markers to help keep track of your rows.
- Keep count of your stitches to maintain the correct stitch counts.
- Manage your tension for even stitches, which will help in maintaining a neat structure.
Common Mistakes (and How to Fix Them)
- “My piece is too small.” – You may have skipped rows or decreased too many times; count your stitches as you go.
- “The stitches are uneven.” – This might be due to varying tension; try to keep your tension consistent.
- “My basket isn’t sturdy enough.” – Ensure you have inserted the stiff interfacing as directed.
How to Care for Your Basket
To keep your basket looking its best, spot clean or hand wash it in cold water. Lay it flat to dry. Avoid machine washing to prevent shrinking.
FAQ
How do I resize the pattern?
You can add or reduce the foundation chain or the number of rows to create a larger or smaller basket. Be sure to adjust the increases and decreases accordingly to maintain shape.
Can I use a different yarn?
Yes, you can substitute different bulky yarns. Just make sure to check the yarn weight to maintain gauge for size.
How long will this take to make?
The total estimated time is approximately 4 hours, broken down into about 1 hour for the base, 2 hours for the sides, and 1 hour for the handles and finishing touches.
Looking for more? Check out our complete collection of free crochet patterns.
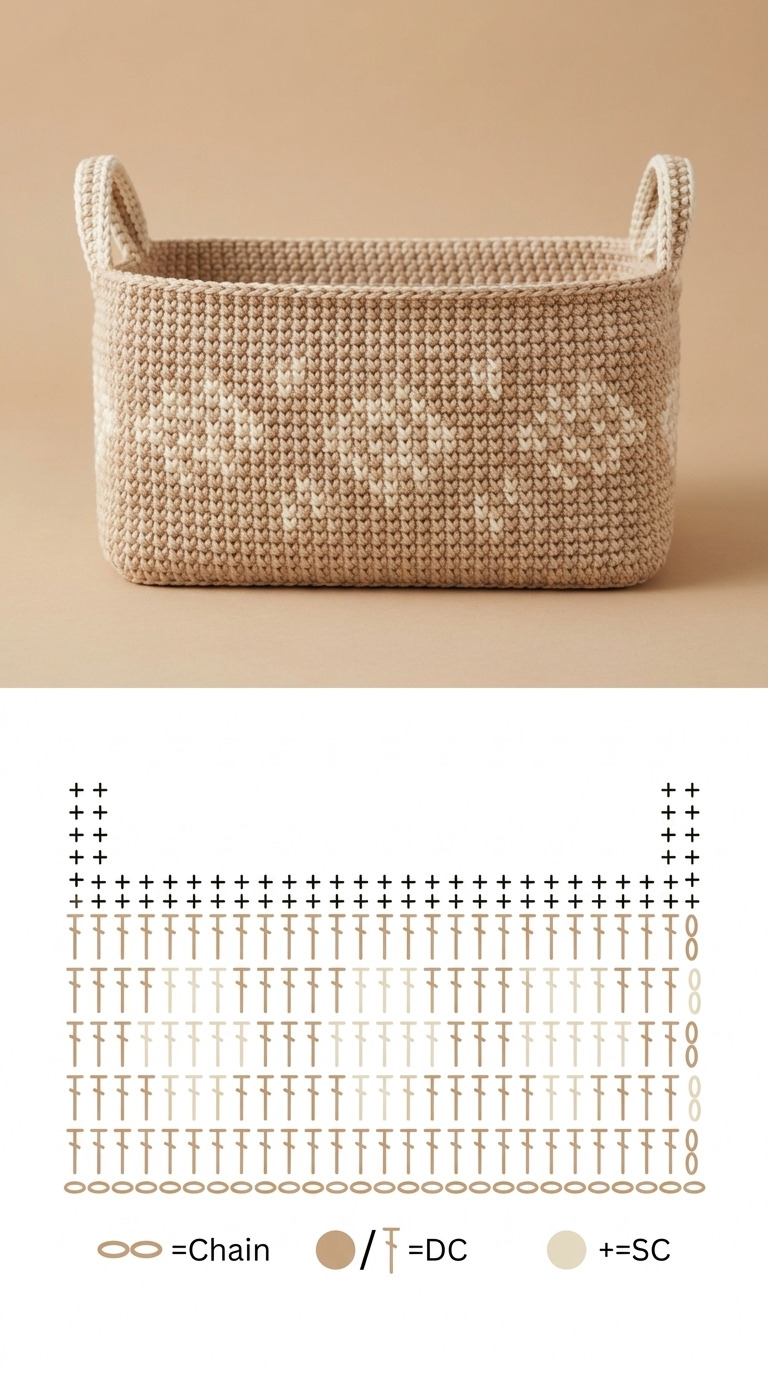
Image shown for inspiration — your finished result may vary slightly.