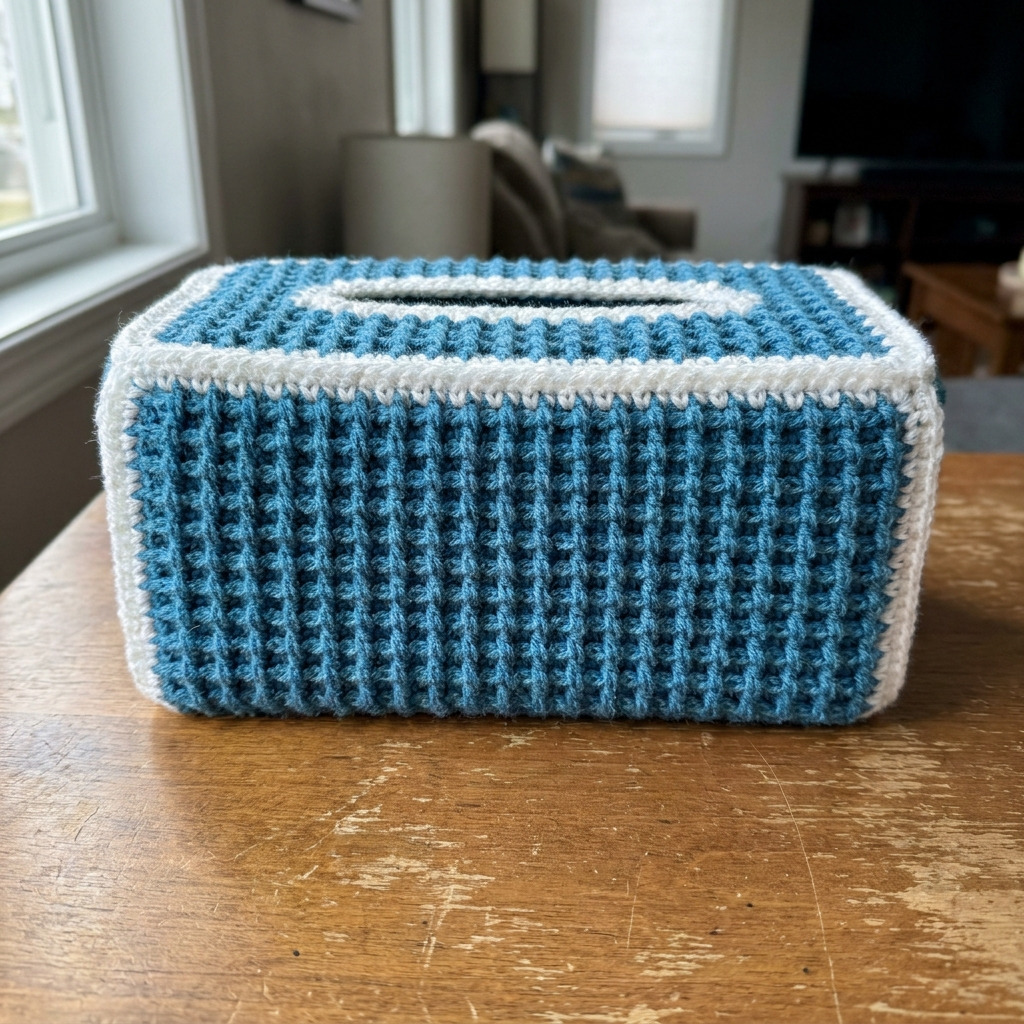
This free crochet tissue box cover pattern in waffle stitch is perfect for adding a cozy touch to your home décor. Designed to fit a standard rectangular tissue box, it enhances any room with its textured appearance. The project involves basic crochet skills, including the waffle stitch, which is both enjoyable and rewarding.
By completing this project, you’ll be able to create a practical item while improving your crochet skills. This cover is a wonderful addition to your home or makes a thoughtful gift.
Why You’ll Love This Tissue Box Cover
- Cozy design – the waffle stitch creates a lovely texture that brightens up any space.
- Quick to crochet – you can finish this in just 2 to 3 hours.
- Customizable colors – use your favorite shades or seasonal colors to make it uniquely yours.
- Perfect gift – a handmade tissue box cover is a charming and practical present for family and friends.
Skill Level: Easy
To complete this pattern, you should know how to:
- Chain (ch)
- Double crochet (dc)
- Front post double crochet (fpdc)
- Back post double crochet (bpdc)
You will gain experience in working with post stitches and combining them in a fun way.
Crochet Abbreviations (US Terms)
- ch – chain
- dc – double crochet
- fpdc – front post double crochet
- bpdc – back post double crochet
- sts – stitches
How to Crochet a Waffle Stitch
- For the foundation, create your foundation row with double crochet stitches, alternating with front post and back post double crochet stitches.
- Repeat the pattern for the desired height, ensuring you keep consistent tension.
Size and Gauge
- Final Dimensions: Approximately 14 cm (5.5 in) tall, 12.7 cm (5 in) wide, and 25.4 cm (10 in) long.
- Gauge: 12 stitches and 10 rows in waffle stitch = 10 cm (4 in).
To check gauge, crochet a swatch and adjust your yarn or hook if necessary.
Step-by-Step Instructions
Body of the Tissue Box Cover
- Foundation Row: Ch 36.
- Row 1: *dc in 3rd ch from hook, dc in each of the next 2 ch, (fpdc around next ch, bpdc around next ch) repeat from * across (34 sts).
- Row 2: ch 1 (does not count as a st), turn. *dc in the next 2 sts, (fpdc around next st, bpdc around next st) repeat from * across (34 sts).
- Repeat Row 2 until the piece measures 14 cm (5.5 in) tall. (Total rows = 15)
Top Opening
- Row 1: Ch 1, turn. (dc in the next 5 sts) then ch 8 (for opening); skip 8 sts, dc in the last 15 sts. (34 sts)
- Row 2: Ch 1, turn. (dc in the next 5 sts, ch 8) skip 8 sts, dc in the last 15 sts. (34 sts)
- Repeat Row 2 until the top measures approximately 3.8 cm (1.5 in).
Edging
- Switch to CC (Cloud White) in the last dc of the last row.
- Round 1: Ch 1, sc in each st around the entire cover, placing 3 sc in each corner to maintain shape. Join with a slip stitch to the first sc.
- Fasten off and weave in ends.
Final Touches
- Ensure all edges are even and smooth.
- Weave in all ends securely with a tapestry needle.
- Block lightly to even out the stitches if necessary.
Beginner Tips for a Neat Tissue Box Cover
- Use stitch markers to keep track of your rows.
- Count your stitches regularly to avoid any mistakes.
- Check your tension; don’t pull too tight to maintain the shape.
Common Mistakes (and How to Fix Them)
- “My piece is too small.” – This might be due to incorrect gauge; make sure to measure your stitches.
- “The stitches are uneven.” – This can happen if your tension fluctuates; practice keeping an even tension throughout.
- “The edges are uneven.” – Make sure to consistently place stitches in the corners and follow instructions carefully.
How to Care for Your Tissue Box Cover
Hand wash in cold water and lay flat to dry to maintain its shape and texture.
FAQ
How do I resize the pattern?
To resize, adjust the foundation chain and repeat rows accordingly to fit your desired dimensions while maintaining the stitch pattern.
Can I use a different yarn?
Yes! Just make sure to match the yarn weight and check your gauge for best results.
How do I add a border?
To add a border, simply follow the edging instructions using your contrasting color, or any other color that you’d prefer.
Looking for more? Check out our complete collection of free crochet patterns.
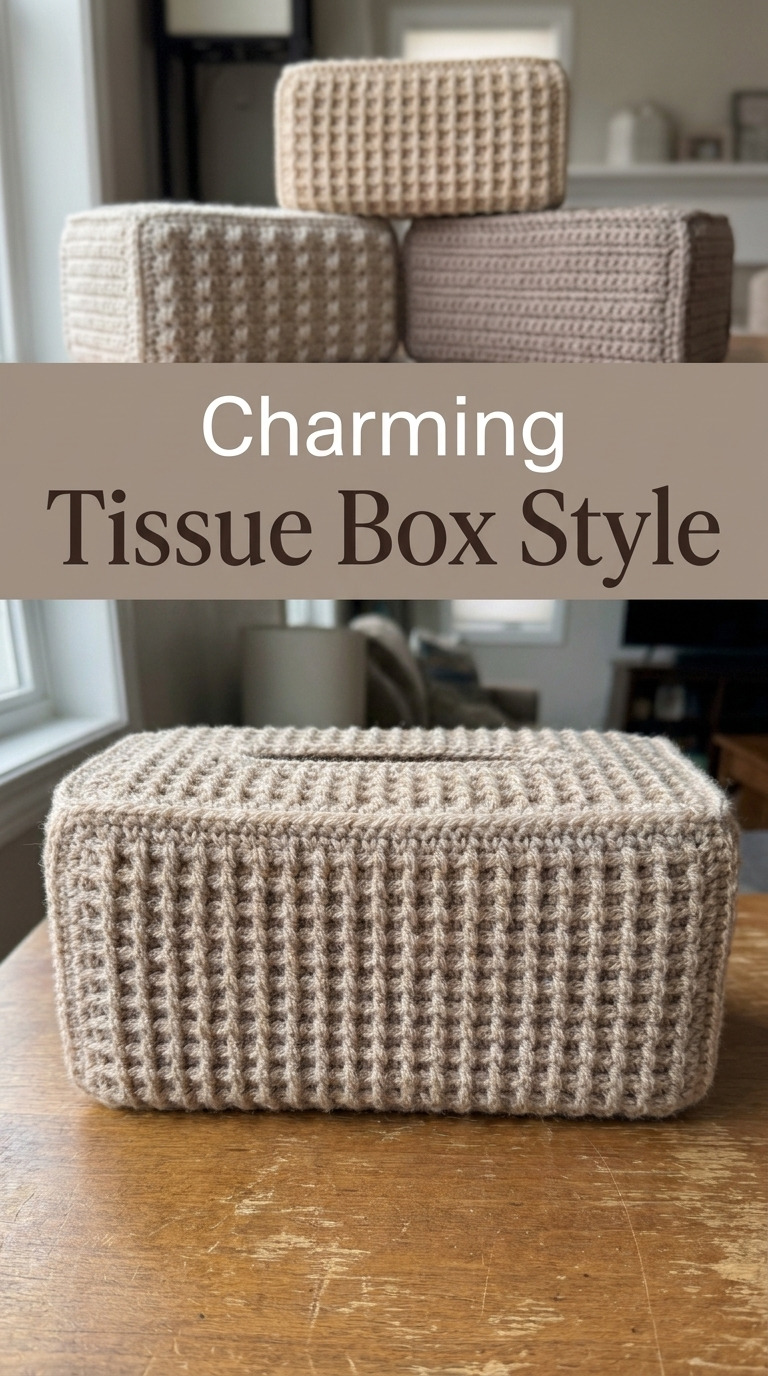
Image shown for inspiration — your finished result may vary slightly.