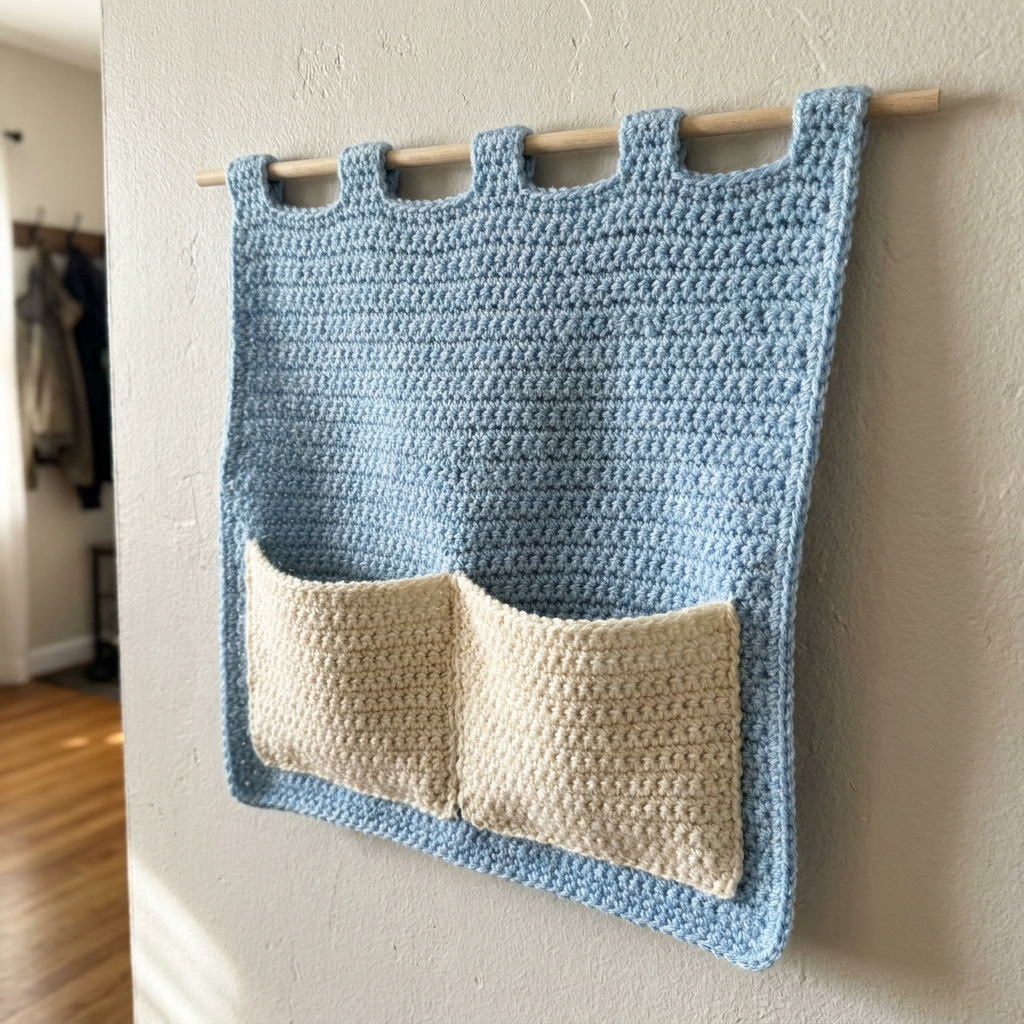
This crochet wall pocket organizer pattern is perfect for keeping your mail and keys neatly stored while adding a stylish touch to your home decor. You’ll enjoy making this project as it features easy stitching, mainly utilizing double crochet and single crochet techniques.
This pattern is suitable for all skill levels, especially beginners and those looking to practice their crochet skills. By completing it, you’ll gain confidence in working with different stitches and learn how to assemble a functional piece for your home.
Why You’ll Love This Wall Pocket Organizer
- Functional design – it keeps your everyday essentials like mail and keys organized and easy to find.
- Beginner-friendly – the simple stitches involved make it perfect for new crocheters.
- Customizable – experiment with colors to match your home decor.
- Quick completion – you can finish this project in approximately 5 hours.
Is This Pattern Good for Beginners?
Yes! This pattern uses basic stitches like single crochet and double crochet, making it an excellent choice for beginners. You’ll learn how to crochet a pocket feature and join pieces together, which will boost your confidence in your crochet skills.
Crochet Abbreviations (US Terms)
- ch – chain
- dc – double crochet
- sc – single crochet
- sl st – slip stitch
- st(s) – stitch(es)
- rep – repeat
- inc – increase (two stitches in the same stitch)
Size and Gauge
- Finished Size: 14 × 18 in (35.5 × 45.7 cm)
- Gauge: 12 dc x 7 rows = 4 in (10 cm) in double crochet.
To check your gauge, crochet a swatch of 20 double crochets for 12 rows. If it’s too large, switch to a smaller hook; if too small, switch to a larger hook.
Step-by-Step Instructions
Body
The main body of the organizer is created in rows and features a foundation row followed by several rows of double and single crochet.
- Foundation Row: Ch 54.
- Row 1: Dc in the 4th ch from hook (counts as 1 dc), dc in each ch across. (52 dc)
- Row 2: Ch 3, turn. Dc in each dc across. (52 dc)
- Row 3: Ch 3, turn. *Dc in next 5 sts, inc in next st; rep from * across. (62 dc)
- Rows 4–10: Ch 3, turn. Dc in each dc across. (62 dc for each row)
- Row 11: Ch 1, turn. Sc in each dc across. (62 sc)
- Row 12: Ch 1, turn. Sc in next 6 sts, ch 10 (buttonhole), skip next 2 sts, sc in the last 54 sc. (60 sc + 1 buttonhole)
- Rows 13–14: Ch 1, turn. Sc in each sc across. (60 sc)
- Row 15: Ch 1, turn. Sc in next 6 sts, ch 10 (buttonhole), skip next 2 sts, sc in the last 42 sc. (58 sc + 1 buttonhole)
- Rows 16–20: Ch 1, turn. Sc in each sc across. (58 sc for each row)
Pockets (Make 2)
Each pocket is created separately before being joined to the main body.
- Foundation Row: Ch 32.
- Row 1: Dc in the 4th ch from hook, dc in each ch across. (30 dc)
- Row 2: Ch 3, turn. Dc in each dc across. (30 dc)
- Row 3: Ch 3, turn. *Dc in next 5 sts, inc in next st; rep from * across. (36 dc)
- Rows 4–5: Ch 3, turn. Dc in each dc across. (36 dc)
- Row 6: Ch 1, turn. Sc in each dc across. (36 sc)
How to Join Your Pieces
Position each pocket on the body at desired locations, aligning the bottom edges. Sew the sides of the pockets to the body using a whip stitch.
Adding a Border
Optionally, add a row of sc around the perimeter of the organizer for a finished look.
Final Touches
- Buttons: Sew buttons on the body where you’d like to fasten the pockets if desired.
- Weaving in ends: Use a tapestry needle to weave in all ends.
- Blocking (optional): Block the piece to help it keep its shape if necessary.
Beginner Tips for a Neat Wall Pocket Organizer
- Use stitch markers to keep track of your rows and stitches.
- Keep count of your stitches, as it’s easy to lose track.
- Manage your tension carefully to ensure even stitches throughout.
Common Mistakes (and How to Fix Them)
- My piece is too small. – Check your gauge to ensure you’re using the right hook size.
- The stitches are uneven. – This can happen if your tension varies; practice keeping it consistent.
- I have holes between my stitches. – This may indicate that your stitches are too loose; try tightening them as you crochet.
How to Care for Your Wall Pocket Organizer
Hand wash in cold water and lay flat to dry to maintain its shape and longevity.
FAQ
How do I resize the pattern?
To resize the wall pocket organizer, adjust the foundation chain to your desired width for the body, ensuring to maintain the proportion for the pockets.
Can I use different yarn weights?
Yes! However, remember to check your gauge, as changing the yarn weight may affect the overall finished size.
How long will this project take me?
You can expect to spend about 5 hours total, including the body, pockets, and assembly.
Enjoy creating your practical and beautiful crochet wall pocket organizer!
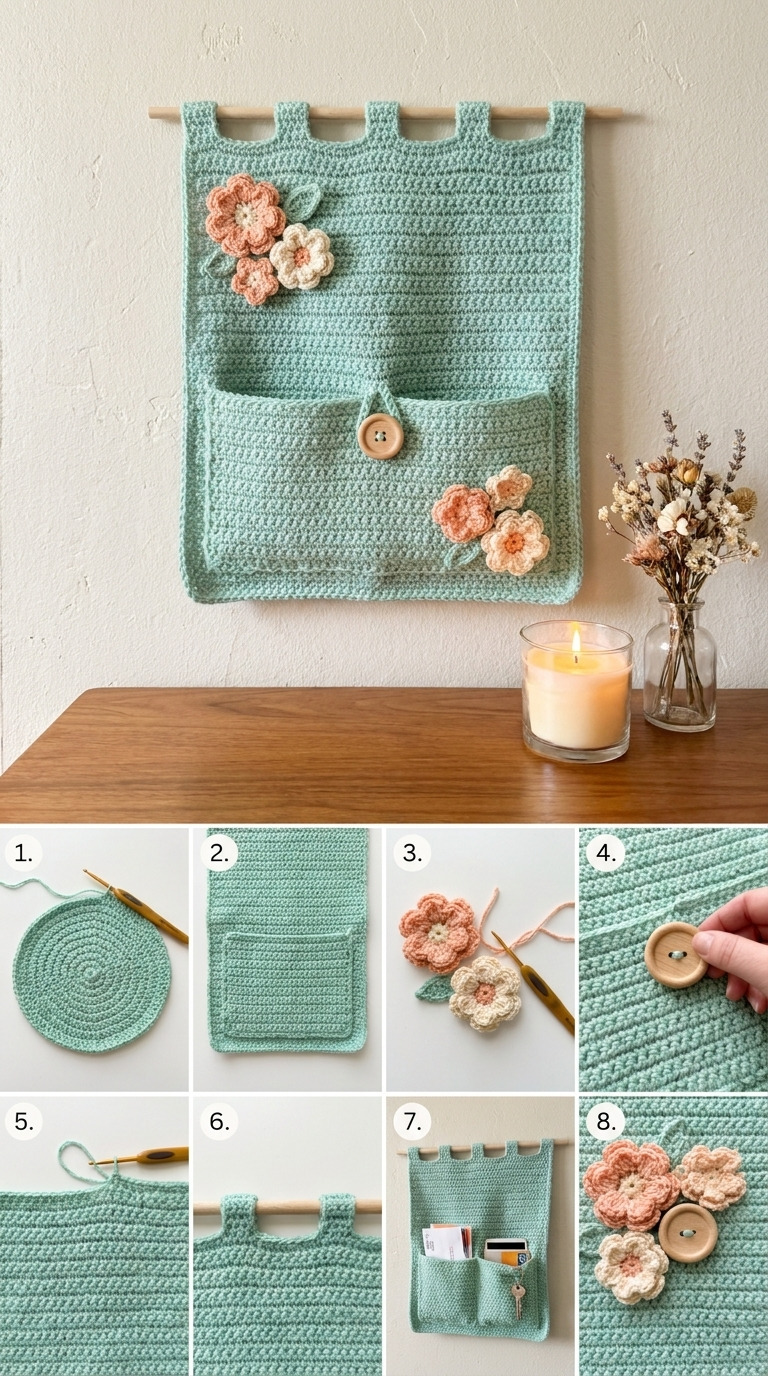
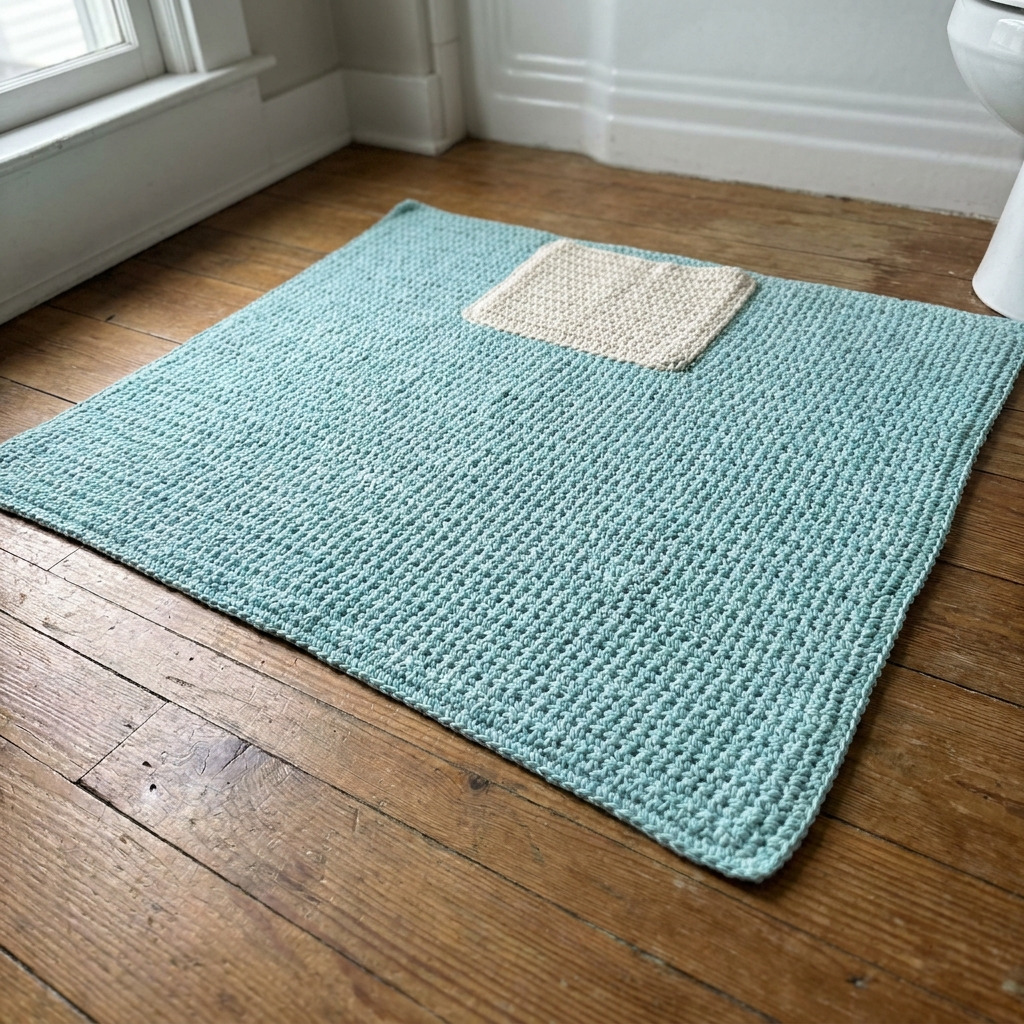
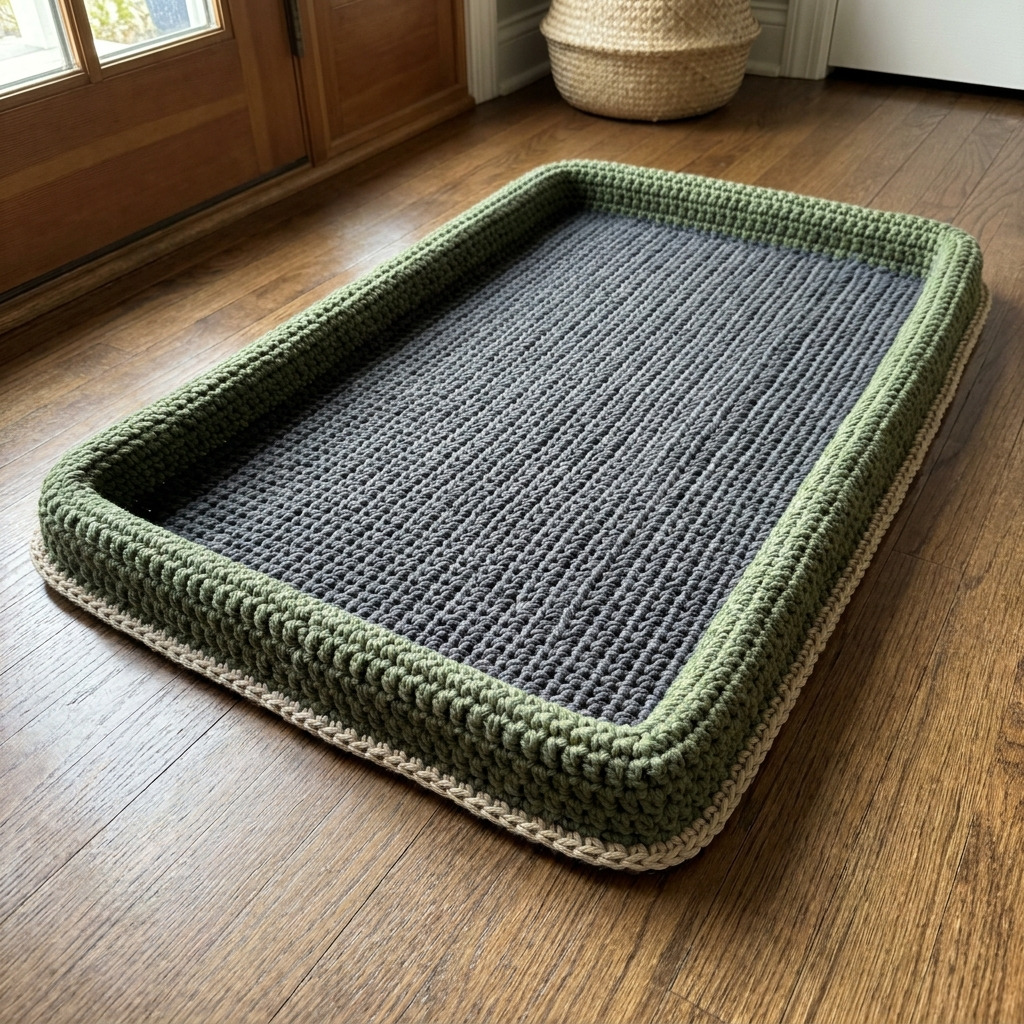
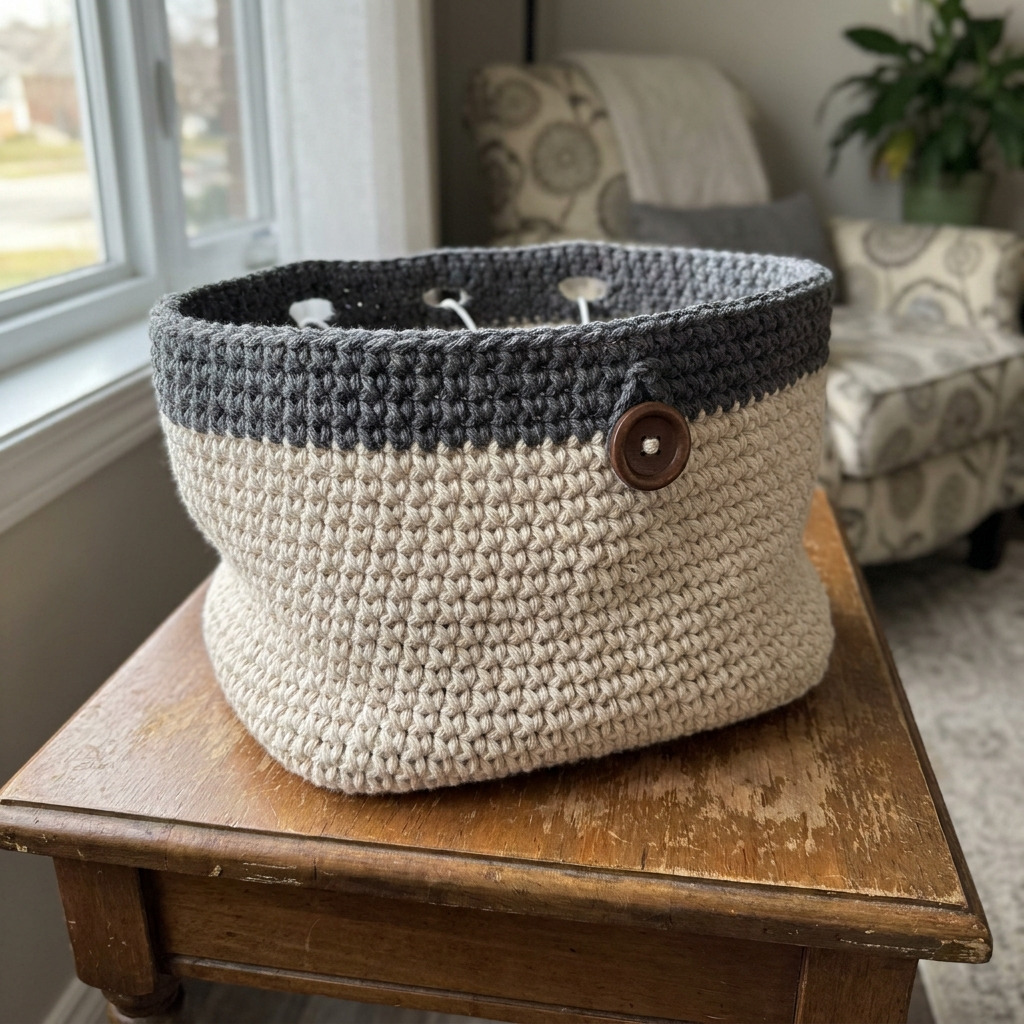
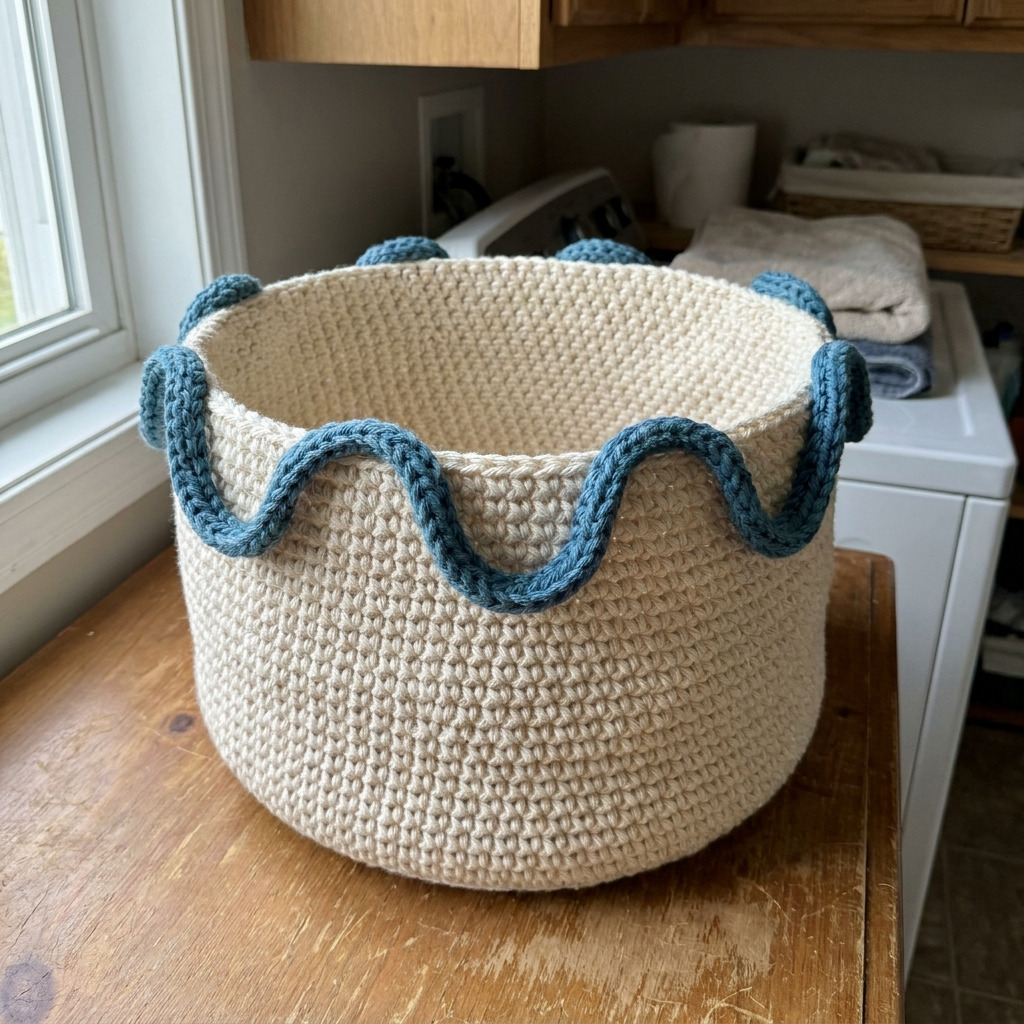
Image shown for inspiration — your finished result may vary slightly.