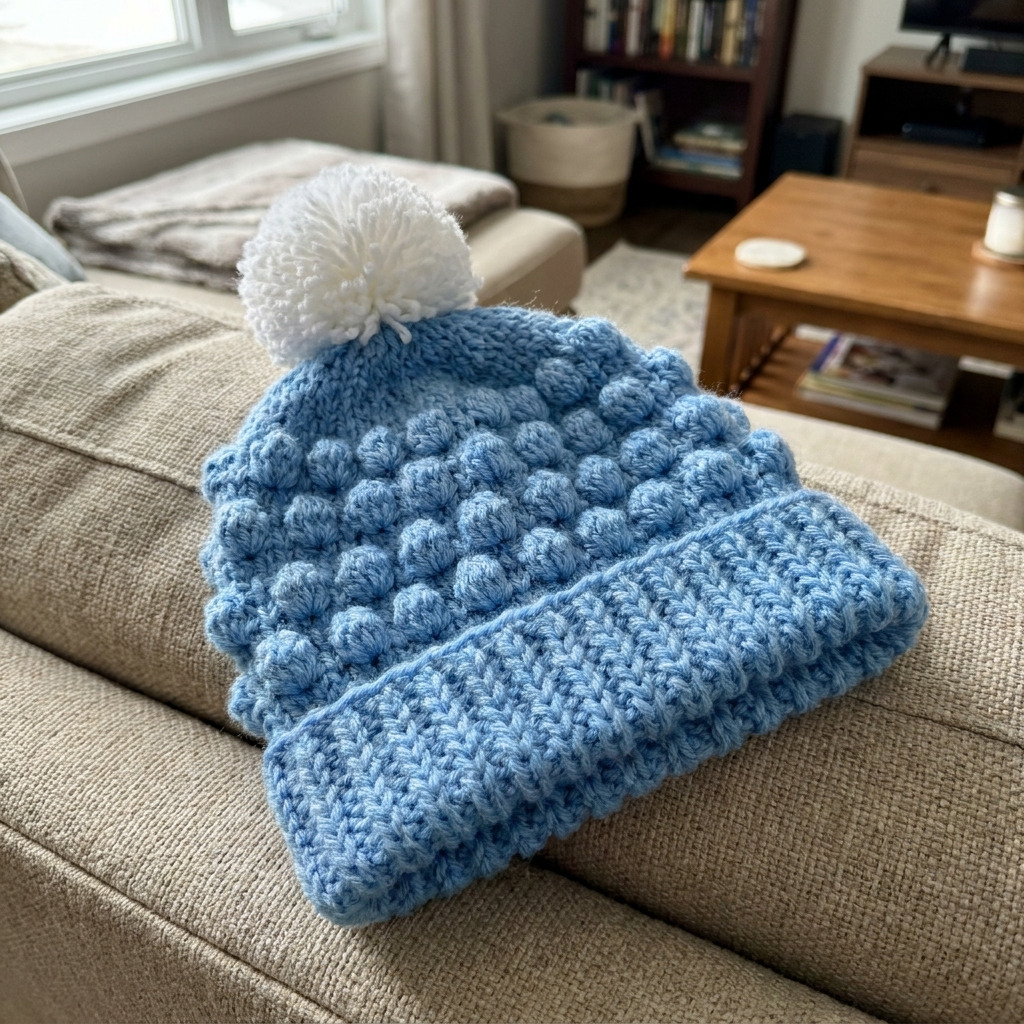
This fun crochet bobble stitch beanie is a delightful project for kids. With its playful textures and a fluffy pom-pom on top, it will keep little ones warm while adding a whimsical touch to their winter outfits. You’ll find the combination of single crochet and bobble stitches exciting to work with as you create this cozy piece.
Not only will this project keep kids snug, but you’ll also gain confidence in using the bobble stitch, a lovely technique that you can incorporate into future projects.
Why You’ll Love This Beanie
- Fun texture – the bobble stitch adds a playful touch to your beanie.
- Quick to make – complete it in about 3.5 hours, making it a perfect gift.
- Customizable – choose your favorite colors to suit any child’s style.
- Keeps heads warm – designed to fit snugly and comfortably.
Is This Pattern Good for Beginners?
Yes! This pattern is great for beginners wanting to add a fun stitch to their repertoire. The instructions are clear and straightforward, with plenty of guidance along the way to help you succeed.
Crochet Abbreviations (US Terms)
- ch – chain
- sl st – slip stitch
- sc – single crochet
- dc – double crochet
- bobble – a textured stitch made by working several partial stitches in one stitch.
How to Crochet a Bobble Stitch
- Yarn over and insert your hook in the stitch.
- Yarn over and pull up a loop (3 loops on hook).
- Yarn over, pull through 2 loops (2 loops remaining).
- Yarn over and insert your hook again in the same stitch.
- Repeat steps 2–4 two more times until you have 5 loops on the hook.
- Yarn over and pull through all 5 loops.
Size and Gauge
- Gauge: 12 bobble stitches + 12 rows = 10 cm (4 in).
- Finished Size: Fits heads with a circumference of approximately 45.7–50.8 cm (18–20 in).
- Final Dimensions: Beanie measures about 20.3 cm (8 in) long by 21.6 cm (8.5 in) wide.
Step-by-Step Instructions
Beanie Body
- Foundation Chain: Ch 52.
- Row 1: Sc in the second ch from the hook and in each ch across. (51 sc)
- Row 2: Ch 2 (counts as first dc), turn. Bobble in the next st, skip 2 st, sc in the next st. Repeat from * to * until the last st, sc in the last st. (17 bobbles, 17 sc)
- Row 3: Ch 1, turn. Sc across. (51 sc)
- Row 4: Ch 2, turn. Bobble in the next st, skip 2 st, sc in the next st. Repeat from * to * until the last st, sc in the last st. (17 bobbles, 17 sc)
- Repeat Rows 3 and 4 for a total of 9 more rows (total of 11 rows in body).
- Row 12: Ch 1, turn. Sc across. (51 sc)
- Join Ends: Fold the beanie to make a tube and sl st the two ends together.
Brim
- Row 13: Ch 1, turn. Sc around the top edge of the beanie, placing 2 sc in corner stitches. Join with a sl st. (Approx. 57 sc)
- Row 14: Ch 1, turn. Sc in each st around. Join with a sl st. (Approx. 57 sc)
- Row 15: Repeat Row 14 twice more for a solid ribbed look (3 total rows).
- Finish: Fasten off and weave in all ends neatly.
Pom-Pom (Optional)
- Make Pom-Pom: Using a pom-pom maker or cardboard method, create a pom-pom with fluffy yarn. Attach the pom-pom to the top of the beanie securely.
How to Join Your Pieces
Ensure all ends are woven in and secured. The finished beanie should be cozy, featuring pronounced bobbles and a plump pom-pom on top.
Beginner Tips for a Neat Beanie
- Use stitch markers to highlight your rounds.
- Count your stitches after each row to ensure accuracy.
- Keep your tension even for a uniform look.
Common Mistakes (and How to Fix Them)
- “My beanie is too small.” – You might have skipped stitches; double-check your chain and stitch counts.
- “The bobbles are uneven.” – This can happen if tension varies; try to keep an even hold on your yarn.
- “It’s hard to join the ends.” – Take your time with the slip stitch to ensure seams are neat.
How to Care for Your Beanie
Machine wash on a gentle cycle, and lay flat to dry. Avoid ironing the pom-pom; it should fluff up naturally after washing.
FAQ
How do I resize the pattern?
To resize the beanie, adjust the foundation chain length in increments of 2 chains. More chains will increase size; fewer will decrease it.
Can I use different yarn for this project?
Absolutely! Any worsted weight yarn will work, but make sure to check gauge for a good fit.
How long does this project take?
Expect to spend approximately 3.5 hours from start to finish, depending on your speed and experience level.
Looking for more? Check out our complete collection of free crochet patterns.
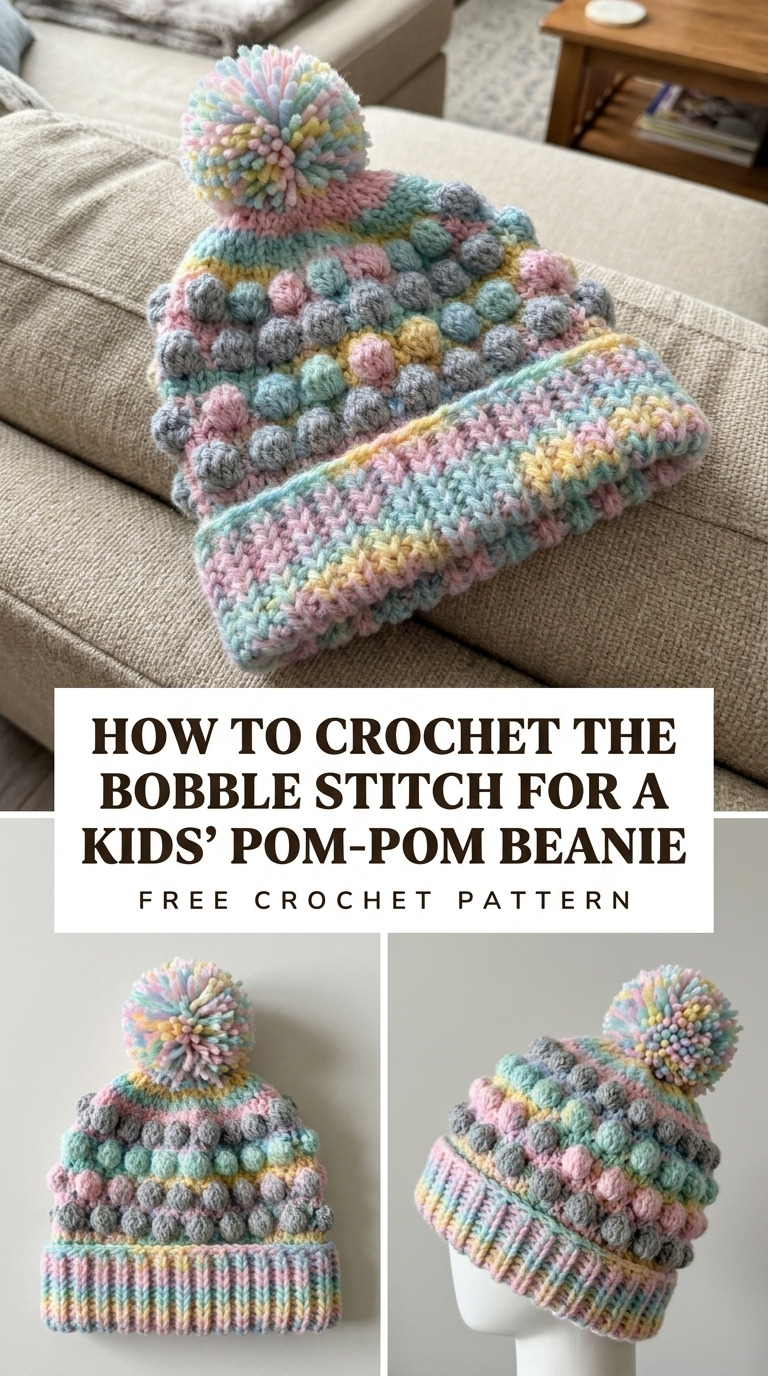
Image shown for inspiration — your finished result may vary slightly.